Hello! This guide is part of our quick start series.
In this article, we’re going to explore managing pipelines in Copper. Use the links below to jump sections.
What is a Pipeline?
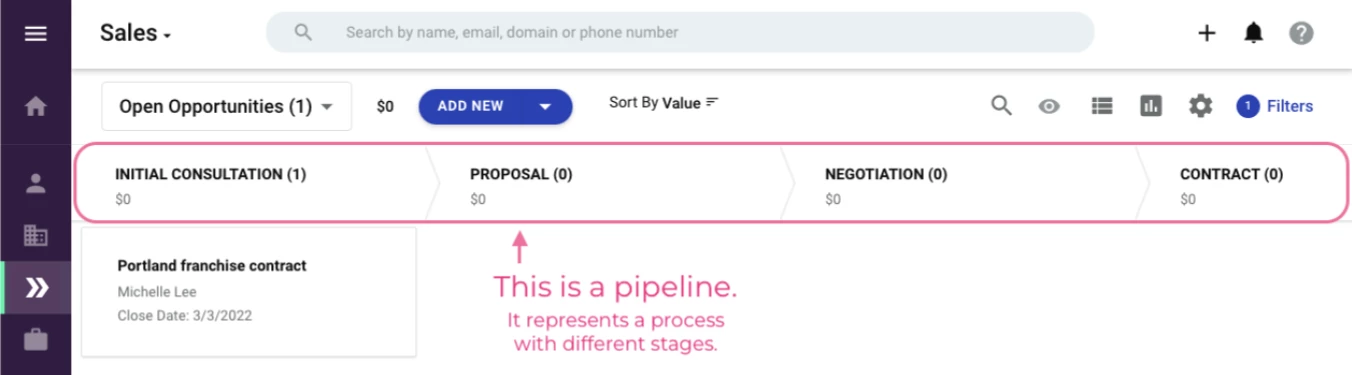
A pipeline is a process that’s split up into stages. For example, you might have a sales pipeline with stages for Initial Consultation, Demo, Proposal, and Contract.
Each pipeline hosts Opportunities.
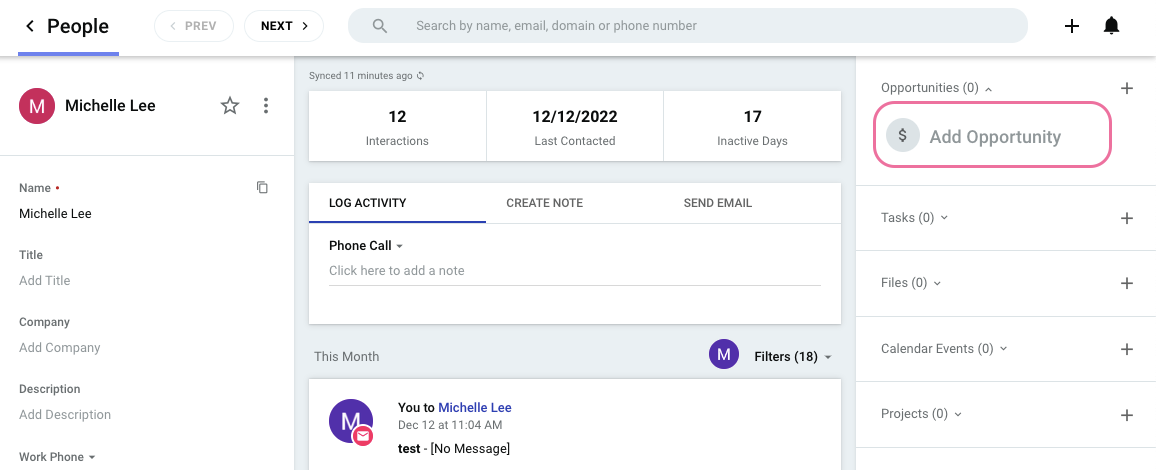
What is an Opportunity?
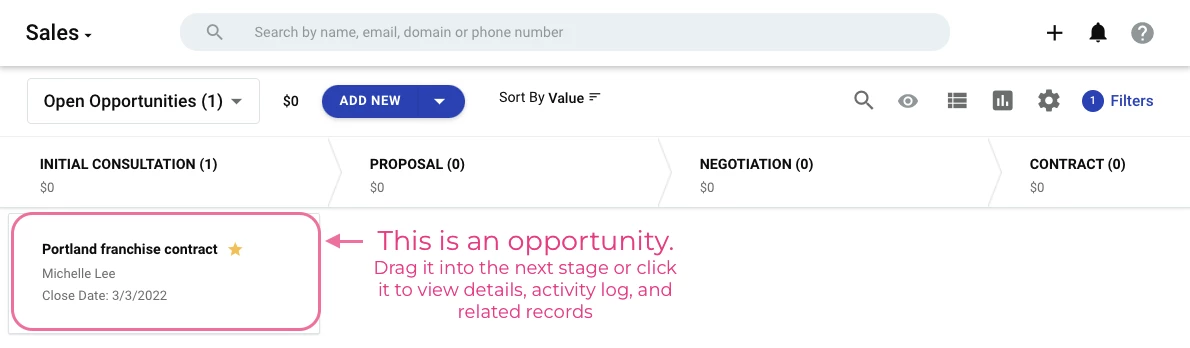
Opportunities are the individual items that move along a pipeline. They each represent one deal, deliverable, or end result that you are pursuing. For example, you might have one Opportunity for each potential sale you are making.
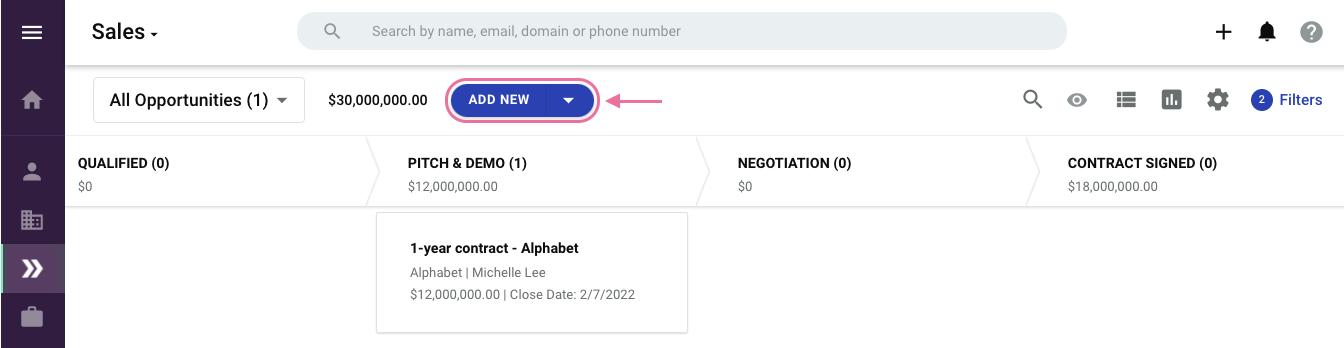
Create an Opportunity by clicking the Add New button.
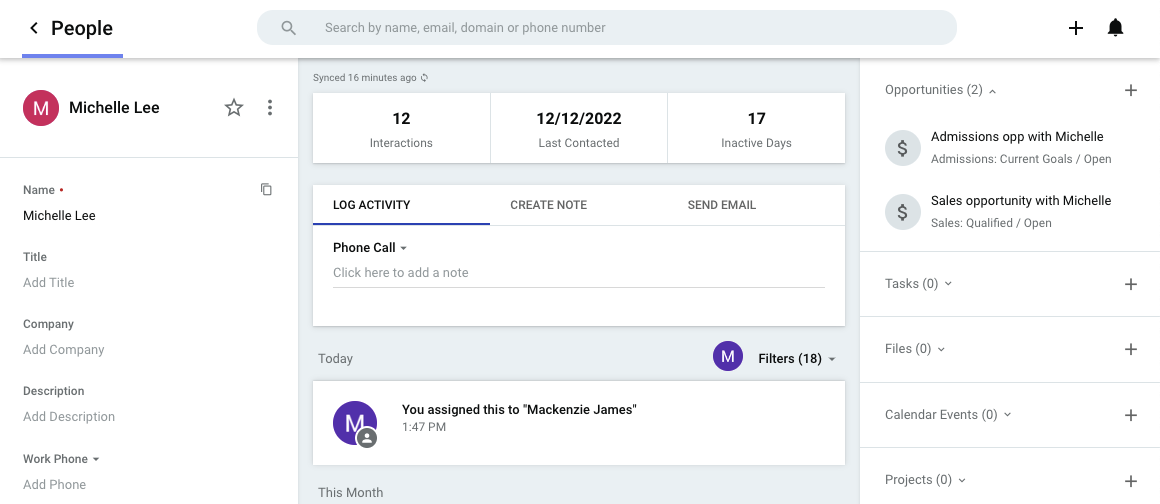
As you nurture an Opportunity, you can move it through the pipeline.
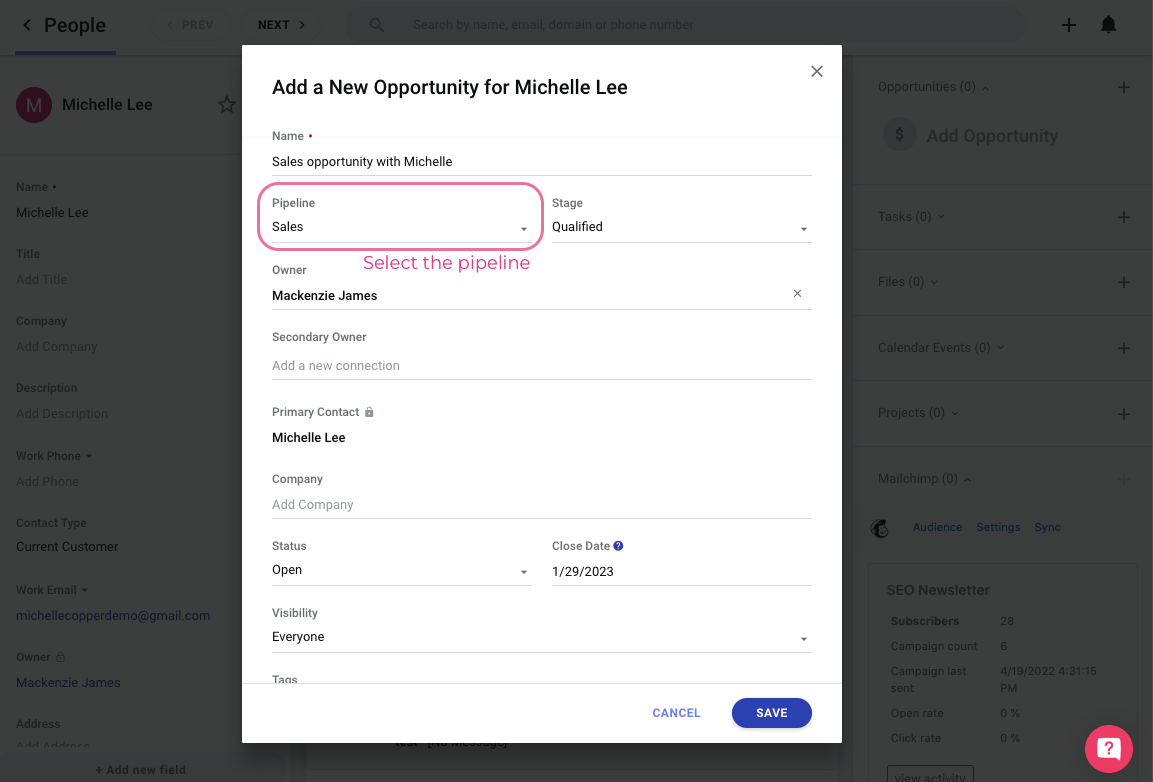
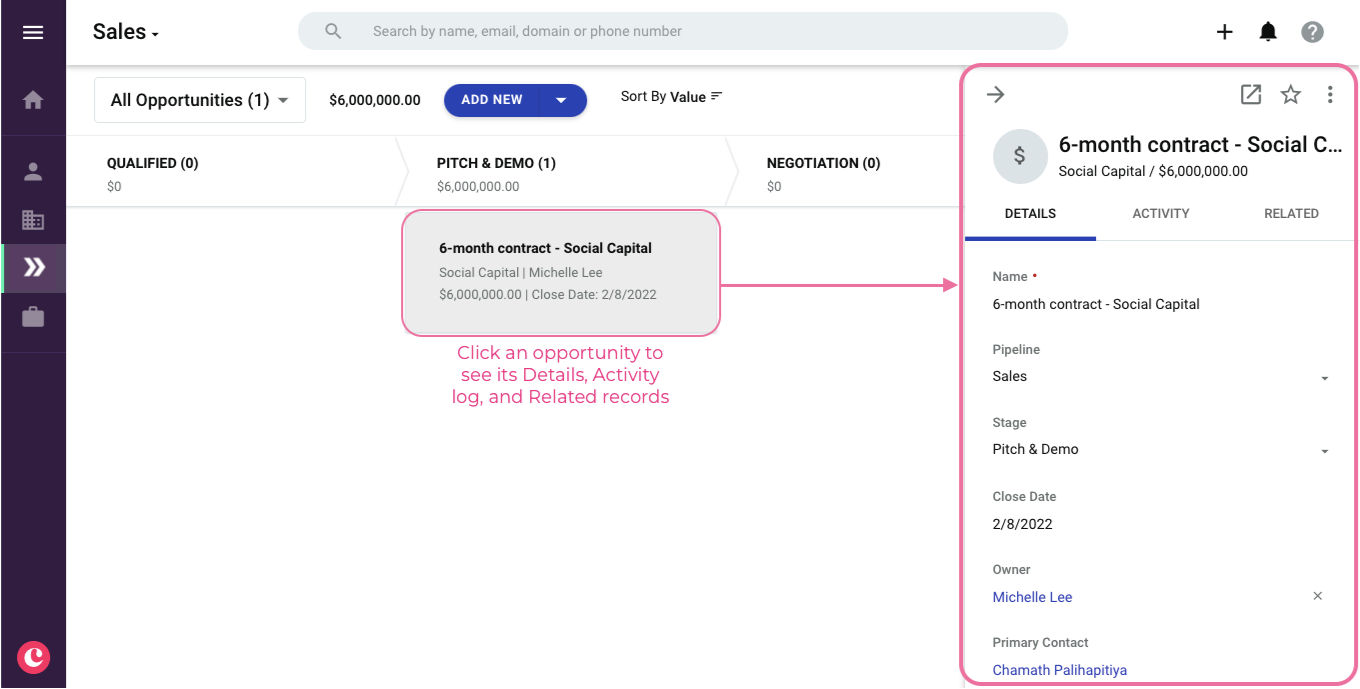
Like a person record, an Opportunity houses information in three different sections:
- Details, such as Value, Primary Contact, or any other fields you may have.
- Activity log, which includes any relevant emails, calendar events, and other activities that have been synced.
- Related records, such as associated people and companies.
Opportunity statuses
An Opportunity’s status indicates how it concluded. There are four statuses:
- Open, as in the Opportunity is still in the works
- Lost, as in there’s no longer a chance it will go through
- Abandoned, as in there’s a there’s no clear conclusion and you’ve stopped pursuing it for now
- Won, as in... you did it!
Copper allows you to apply these statuses to an Opportunity, regardless of which pipeline stage it’s in. This allows you to track at which point in your process certain outcomes are realized.
Filtering Pipelines
Need to narrow down your view? Apply a filter using the filter icon in the top right corner.
Switching between Pipelines
You might have multiple pipelines in your Copper system. You can easily flip between them by clicking on the name of the pipeline.
Switching to list view
If you prefer to see your pipelines in a list with columns, simply switch to List View by clicking the list view icon. From there, you can add a filter, customize the columns, or sort your Opportunities.
Now you’re ready!
You know the how to work with your pipeline in Copper now. So, go ahead and get started in the web app, Chrome extension, or mobile app (iOS & Android). Or, check out the quick customization guide to see how you can customize Copper to fit your organization.
🚨 We also have a full Coffee with Copper webinar running through the basics on pipelines, best practices and key features. Watch here.
Oh, and if you have any questions, add them in a comment or post in our forum!